Most people have a soft spot for climbing plants, don’t they? Whether you yearn for the romance of abundant blooms scrambling through a tree, or need to disguise an unattractive shed, or simply would like to soften an obtrusive wall or fence, climbers work their magic in many ways.
Clematis is one of the most versatile when it comes to climbing plants, with different varieties blooming from winter through late autumn. But they can discourage some gardeners, with their labels bearing cryptic allusions to ‘Group 1’ or ‘Group 3’. Also the question of pruning rears its ugly head, and many gardeners have a tale to tell about an over-zealously pruned clematis which never recovered.
But if you don’t prune them, clematis can rather run away, becoming tangled, sprawling and with flowers only at the top, where you can’t enjoy them. So pruning is a must - but it doesn’t have to be complicated.
Clematis fall into one of three groups, depending essentially on when they produce their gorgeous blooms; early flowering (Group 1); large flowering (Group 2); and late flowering (Group 3).
 Group 1 – Early flowering
It stands to reason that these plucky early starters, often producing their blooms through snow and late frosts, carry their blooms on the previous season’s growth. They’re so fast out of the trap that they’ve not had a chance to grow new stems yet. So don’t remove any new growth at the end of a season, as these stems will carry next year’s blooms. If these clematis need thinning or cutting to size, prune in the spring, after they’ve finished flowering. Try to cut back only dead wood.
If needed, Group 1 clematis can be cut back harder to resize or rejuvenate them (the RHS recommends 15cm from the base), but do bear mind that it will affect flowering. Avoid doing this again within three years, to give the plant time to recover.

Group 2 – Large flowering
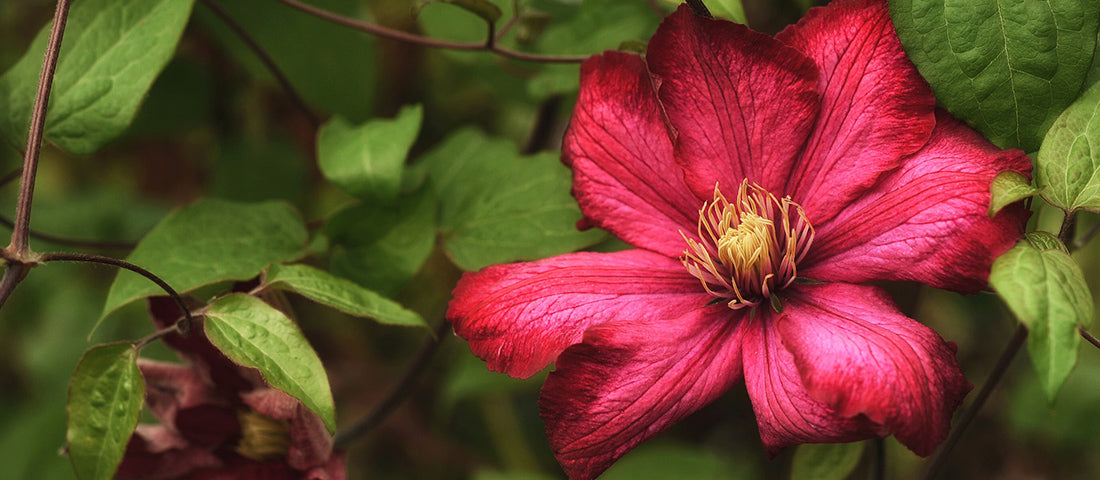
These are the fabulous, exotic-looking clematis which are blooming at the moment, as they flower in May and June. These plants carry their flowers on short new shoots which have emerged this year from last year’s stems. Prune this group in the late winter or early spring, before they flower, while they’re still dormant. Simply remove any dead or weak stems, cutting just above a pair of healthy buds. Essentially, they need a light touch, or you could remove the developing flowers.
Group 2 clematis can be persuaded to bloom again, producing a second flush of flowers later in the summer. When the clematis blooms in May to June, deadhead the spent flowers and then in the early summer, when the flowers have finished, lightly prune again. As you did earlier in the year, simply cut back some (but not all) stems to just above a healthy pair of buds or a strong side shoot.
If you need to resize or rejuvenate the plant, cut back to 30-90cm high in the late winter – and expect only one flush of blooms that summer.
 Group 3 – Late flowering
These clematis bloom in mid to late summer, on long stems of the current season’s growth – around the last 60cm of growth. They take a long time to get going, but they’re worth the wait! These are possibly the easiest group to prune; simply prune back hard in the spring, before they flower, while they’re still dormant. You can cut them right back to the lowest pair of buds. Group 3 clematis often have beautiful fluffy seedheads which look lovely when left on the plant, adding texture to the garden in to the winter.
If you’re thinking that the guidance above for groups 2 and 3 sounds broadly similar in terms of timing - you’re right, they’re not a million miles apart. In fact, the RHS suggests a ‘combined’ approach which covers both these groups; in the spring, leave enough stems to form a basic framework, but cut back other stems to the base. This technique also gives a long flowering season.
If you’re not sure which group your clematis falls into, simply leave it for a year and observe when it flowers. If it’s an early bird, prune it after flowering; if it’s later, it can safely be left until the following spring.
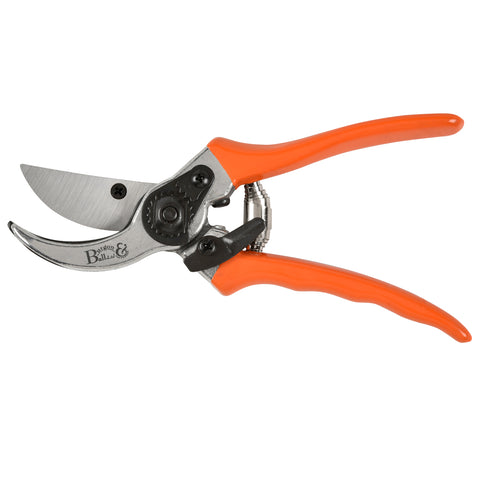
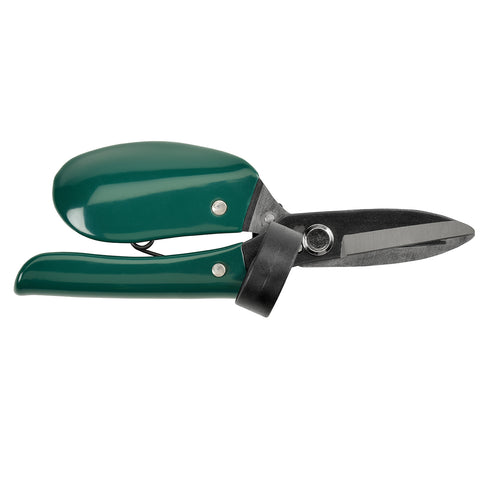
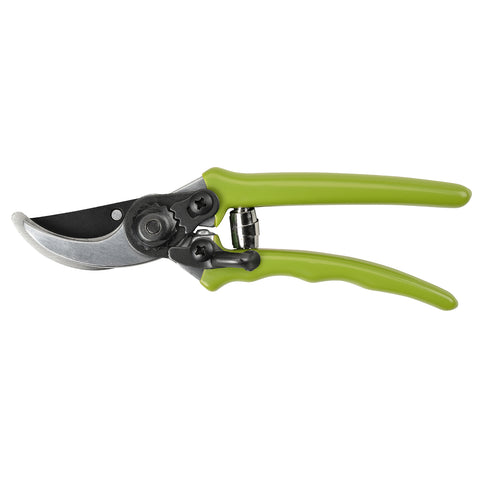
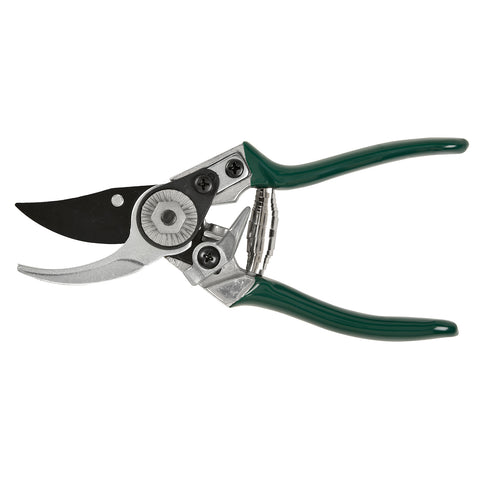
Finally, on the pruning itself, we’d recommend scissor-action snips or a bypass-action secateur, depending on the diameter of stems you’re cutting. It’s important to make sure your blade is sharp, which makes a much cleaner cut. If the stem is cut cleanly, rather than crushed or pulled away, there’s much less chance of bacteria being introduced to the plant.
So that’s it. Pruning clematis doesn’t have to be tricky, and it’s a good way to give your plant the best chance of producing plentiful beautiful blooms – and at a height where you can enjoy them.