People get very nervous about pruning. Every gardener has experience of pruning too hard, or at the wrong time, or before a surprise frost, and the lack of blooms (or worse, lack of recovery) of the beloved plant comes back to haunt you months or even years down the line.
But pruning shouldn’t be a cause for panic – or even for confusion. It’s an essential task for plant health, as it removes diseased or dead wood, improves form and structure, and promotes new growth.
When to prune
Late winter or early spring is the ideal time to take a good look at your trees and shrubs, to check them over for winter damage. Before the plants return to full leaf, you’ll easily be able to see any damage, and as plants are dormant, they won’t lose so much life-giving sap. The strong growth in spring’s warmer days isn’t too far away, and this will help them bounce back. There’s the added benefit that insects and diseases are less of a risk at this time of year, too.
Prune on a mild, dry day, when there’s no frost in the forecast. In the unpredictable British climate, that’s never a given, but we gardeners can only do our best and keep our fingers crossed…
 The kindest cut
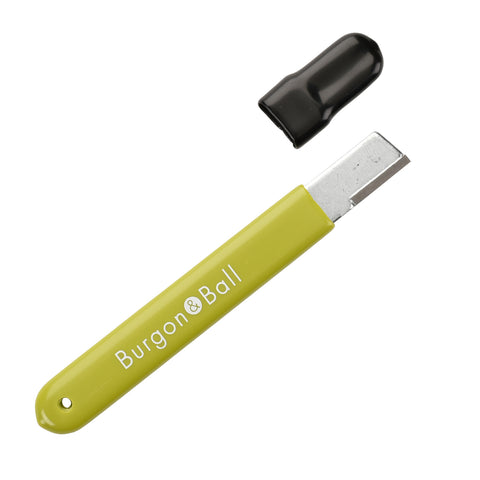
First take out the dead or obviously diseased branches, since they unquestionably have to go. If you’re not sure about whether a stem is living, it’s fine to take a blade and gently scrape at a small area of bark. If you easily get down to a green layer under a thin outer skin, the stem is alive.
Next comes the ‘shaping’ side of pruning. Of primary concern is the crown of the shrub or tree, since many trees will naturally develop to form a thick tangle of branches in this area. This can lead to crossing of branches, which can introduce disease if the branches rub and wear away the protective bark. And for fruit trees especially, it means smaller, poorer fruit, as they compete for light and space in the dense growth.
Focusing on the crown, remove any obviously overgrowth stems or limbs which affect the balance of the tree. Also reduce those smaller branches which can affect access to light and air at the crown of the tree. In general, you want to try to keep those limbs which develop or maintain the structure of the tree. Check the structure from all angles before cutting, and proceed with caution, since once a cut has been made, there's no going back. Once you’re happy with the crown, move onto the rest of the tree.

The cutting edge
There are, broadly speaking, two types of pruning cuts: heading cuts, and thinning cuts.
 Heading cuts are used to ‘head-off’ the growth of a stem or limb, if it threatens to disrupt the shape or balance of a tree. Make these cuts around one centimetre above an outward-facing bud. Make the cut at an angle, with the longer end of the cut above the bud, sloping down to the shorter end opposite the bud (but make sure it doesn’t go lower on the branch than the bud itself).
This type of cut will encourage the growth of the buds closest to the wound, with side-shoots sprouting. The direction of growth of the remaining top bud will be the new main direction of growth. Use heading cuts with caution: although they’re good for cutting overgrown limbs down to size, they can create bushier growth, which may need to be corrected in the future.
Thinning cuts can reduce density without stimulating lots of bushy re-growth. Removing a branch above a sprouting twig means that growth is diverted into the remaining twig; in effect, it reduces the number of growing shoots from two to one. It also changes the direction of growth, to encourage outward-facing shoots and open up the shape.
Make thinning cuts just above the point at which a twig spouts from the ‘parent’ branch – select an outward-facing twig to avoid inward-facing, tangled growth. Again, make the cut at an angle, parallel to the direction of growth of the twig.
Whichever type of cut is necessary, don't worry about using wound dressing on pruning cuts. This used to be common practice, but in fact these materials won't prevent decay or promote wound closure. It’s better to focus on making clean, healthy cuts.
 A word on tools
When it comes to pruning, the best ways to ensure plant health are:
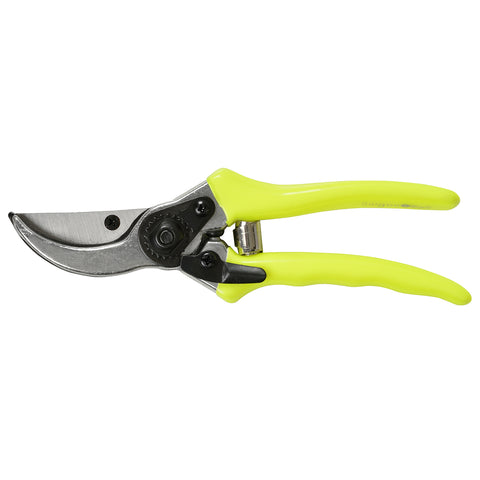
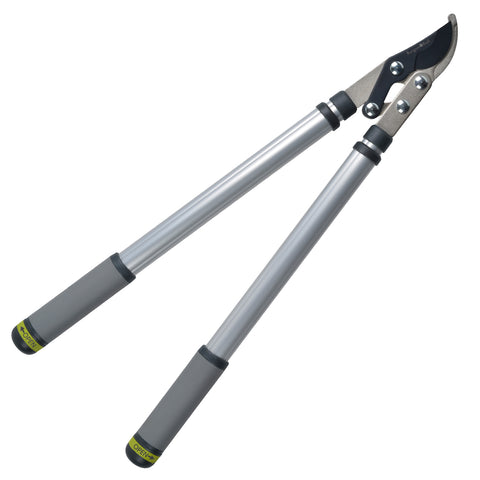
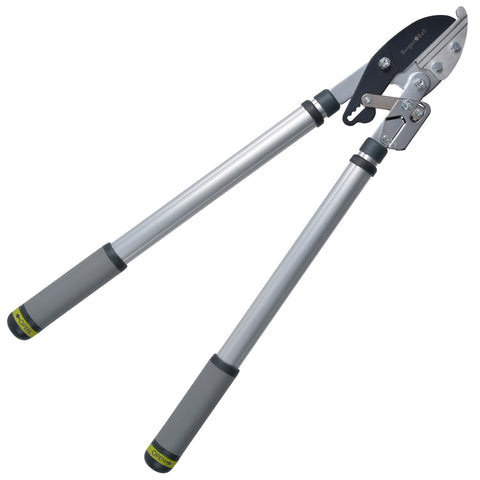
* use tools which have the capacity to cut the thickness of branch you want to remove (don’t struggle with a secateur to cut a thick branch which really needs a lopper); and
* keep the tool’s blades very sharp, and very clean.
These two points combine to ensure a clean, healthy cut, minimising crushing which can introduce infection to the plant.
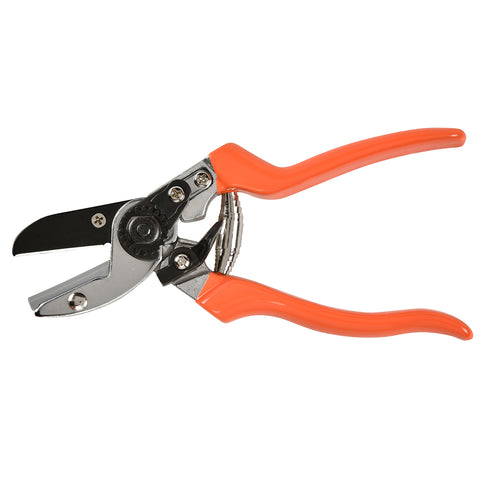
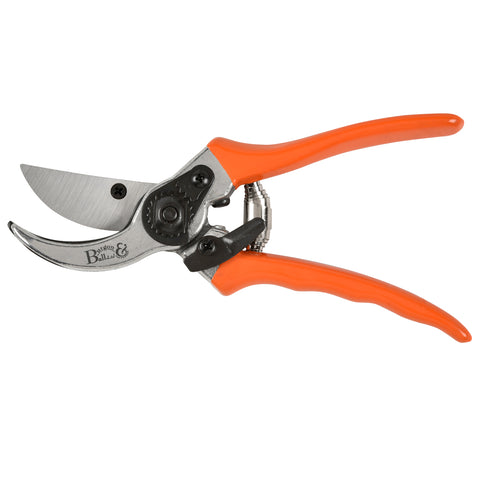
Do make sure you choose the right tool for the job; an anvil action lopper or secateur (where the blade cuts straight down onto the cutting block or ‘anvil’) has a strong cutting action, but it can crush softer, live stems. Keep anvil action tools for making powerful cuts on hard, dead wood. Bypass action secateurs and loppers (where the blade slices down past the anvil, bypassing it) are best for live stems, as they’re ideal for clean cuts of softer, greener growth.
Pruning doesn’t have to be a pain. Just take it slow and steady, and of course, make sure you use the right tools for the job.