If at this point in the year you're craving fresh tastes on your table - and also missing the thrill of starting seeds growing - why not give microgreens a try?
Microgreens are superbly easy to grow, delivering tiny leaves which are simply packed full of flavour. Immature salad leaves or green veggies, they can be ready to harvest in as little as two or three weeks. It’s said they contain up to 40 times the nutrients of the full-size plants, and they certainly punch well above their weight in terms of flavour. You’ll see them scattered like confetti over plates in the trendiest restaurants, bringing flavour, texture and colour to gorgeously-presented dishes. Unlike with sprouts such as beansprouts, which are eaten leaves, shoots, seed and all, with microgreens just the stem, cotyledon (seed leaves) and first set of true leaves are eaten. Harvesting involves simply snipping the stem above the ground.
They’re great for getting the children involved in gardening too, as growth can be seen from one day to the next – how rewarding!
Get your microgreens started now and you’ll be enjoying adding them to your meals all the way through to spring.

What seeds shall I choose?
Salad greens, leafy vegetables, herbs and edible flowers work well. When you’re buying seeds, look out for varieties specially recommended for growing as microgreens, as these will deliver high germination rates, good flavour and appealing colour. Some of the easiest types to grow are broccoli, cabbage, mustard, chia, quinoa, sunflower and radish. What do I need?
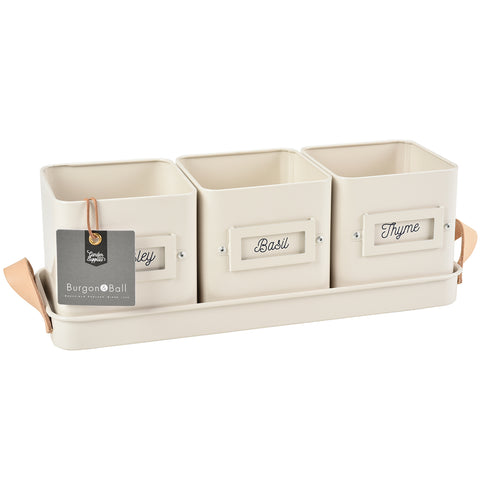
Just a warm, sunny windowsill – quite a big ask in the winter months, but a south-facing windowsill will give the best results – and a container of compost. Our herb pots will keep the kitchen looking smart, but flatter containers such as plastic takeaway cartons or tinfoil pie dishes will work well, too. Also a watering can or water spray to keep your sprouting greens moist but not wet. And of course, your microgreen seeds!
How do I plant the seeds?
Simply add the compost to your contain and flatten lightly to get a level surface. Scatter the seeds evenly over the surface of the compost. You can sow more densely than you would normally, since these plants aren’t going to grow to their full size. Press them lightly into the compost, and scatter over more compost in a thin layer. Dampen them with a water spray - and watch them grow!
How often should I water them?
From planting to germination, they’ll need misting at least once a day. To cut down on watering duties, put some cling film over the top of the container until the seeds sprout, then remove and start your daily misting regime. How do I harvest them?
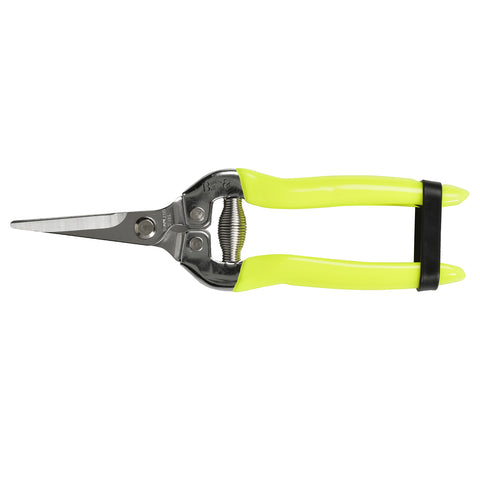
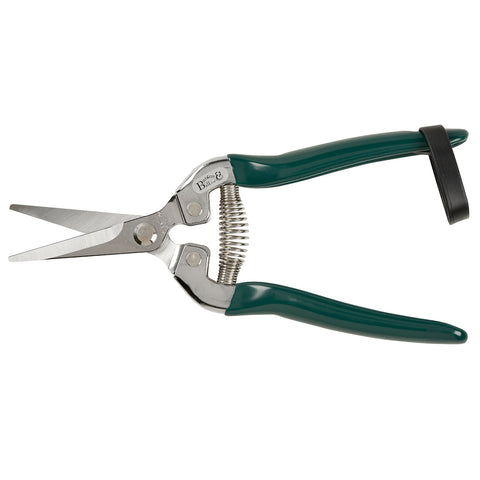
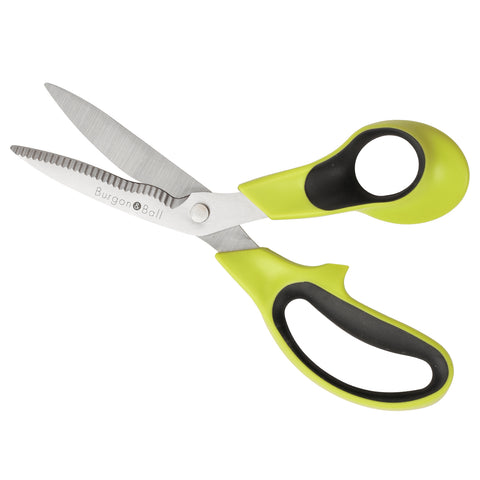
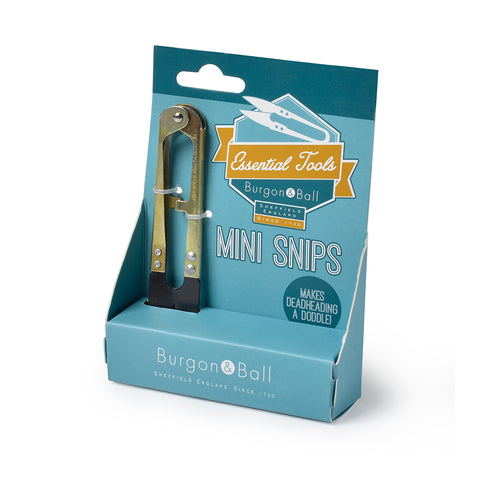
Your microgreens will be ready when you see the first true leaves – these will usually look different to the first leaves which emerge, which are the cotyledons or seed leaves. Simply cut the stems off above the soil with scissors or sharp snips. Rinse them in water and dry them on paper towels and you’re ready to go!
How can I eat them?
Well, the quick answer is, however you fancy them. They’re very tasty in soups, sandwiches, salads, or use them either as a garnish or ingredient in starters, main, and yes, even desserts. We found these recipes curated by GroCycle very inspiring and can’t wait to get tasting! Strawberry chocolate tart with basil microgreens, anyone?
And that’s about it. Microgreens are packed with flavour and nutrients and will deliver a huge hit of fresh flavour to your winter dishes, so get sowing today!


