In an ideal world, we’d all carefully wipe down our garden tools with an oiled cloth after every use, and sharpen cutting tools after every cut. And certainly when we bed our tools down for the winter, we’d be giving them a thorough inspection, replacing worn blades and giving them a thorough oiling.
But real life gets in the way, doesn’t it? And although we know that our tools perform at their best when given a little TLC, we’re also realists, so we’re making no judgements if tools got pushed to one side as winter closed in.
However, winter is a good time to inspect and service your tools, before gardening becomes hectic once again. Here are our tips on how to go about this.
 Step 1: Clean
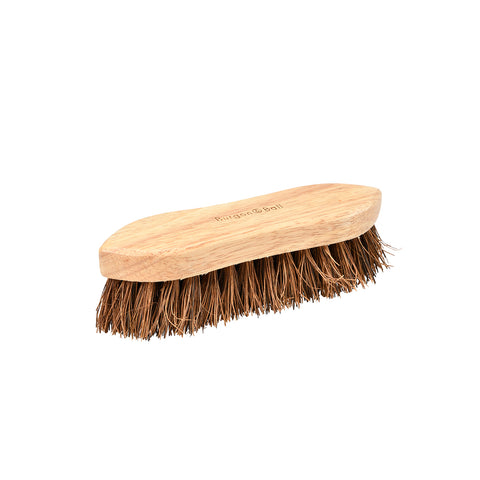
Firstly, make sure your tools are thoroughly clean. You’ll need a bucket of warm water, some detergent and a brush with good stiff bristles. A washing-up sponge with a gentle scourer on one side might also be useful.
If there’s any really heavy dried-on mud, first knock off what you can with the brush. This might not be possible, if you garden with heavy clay soil, and your tools might need a good soak before you even get started. Once the worst of the mud has been removed, wash the tools in the warm water and detergent, scrubbing them with the brush until they’re clean – and the scourer might come in handy for any dried sap on loppers or secateur blades. Rinse the tools in clean water, and either let them air dry, or dry them with a towel for the full-on spa experience.
Step 2: Sharpen

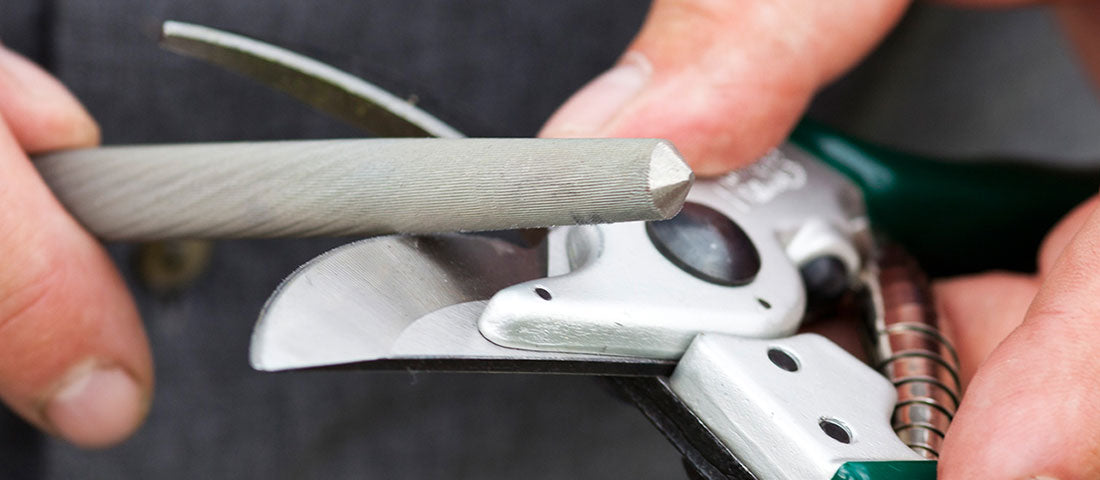
Anything with a blade will perform much better if it has a really sharp edge. As organic gardening expert and herb specialist Jekka McVicar once told us, keen chefs are passionate about keeping their knives sharp – and if we need sharp knives to cut dead meat, shouldn’t keen gardeners insist on sharp blades to cut living, growing, healthy plant stems?
Not only will a sharpened cutting tool be easier to use, it’s also much kinder to your plants. A sharp blade can slice through a stem cleanly, whereas a blunt blade can crush stems as it struggles to complete the cut. This leaves the plant with a ragged wound that’s more open to disease, and more difficult to heal.
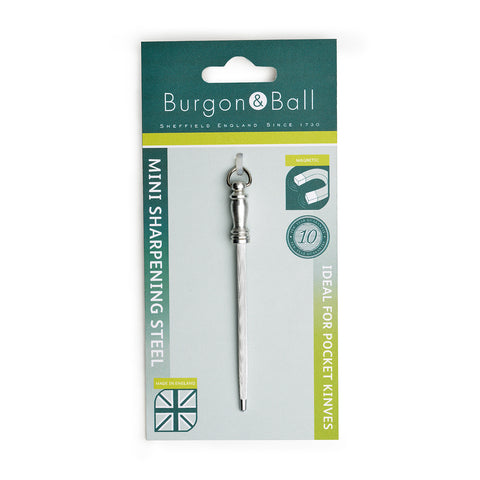
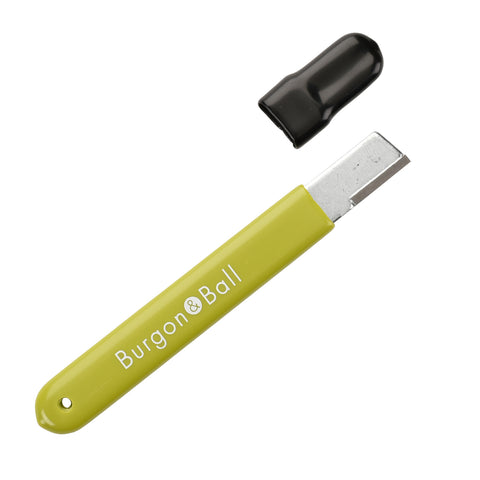
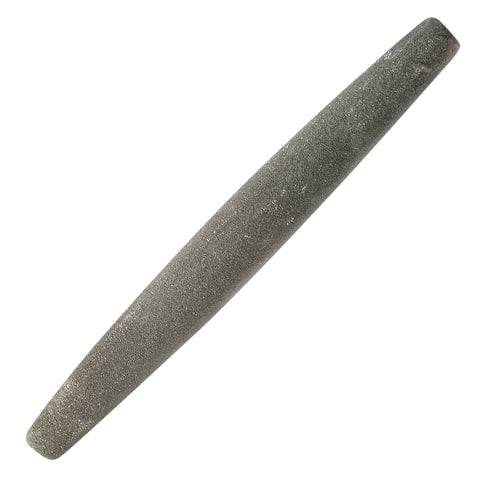
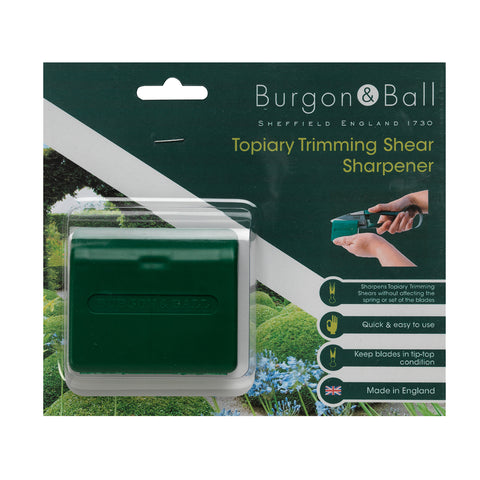
It’s wise to use the right sharpener for the job in hand. We offer a variety of sharpeners, from a miniature steel suitable for pocket knives, to a 28cm long scythe stone, a traditional English round stone that’s suitable for heritage agricultural tools, as well as for our larger garden tools - it can also be used to give a lovely sharp edge to spades, hoes, etc. If you have a pair of our topiary shears, we have the perfect sharpener for those, too: our topiary trimming shear sharpener. Each pair of topiary trimming shears is hand set by eye at our factory in Sheffield to be perfectly aligned for superb performance; the topiary trimming shear sharpener allows both sides to be trimmed in situ, preserving the all-important ‘set’ of the blades.

Step 3: Oil
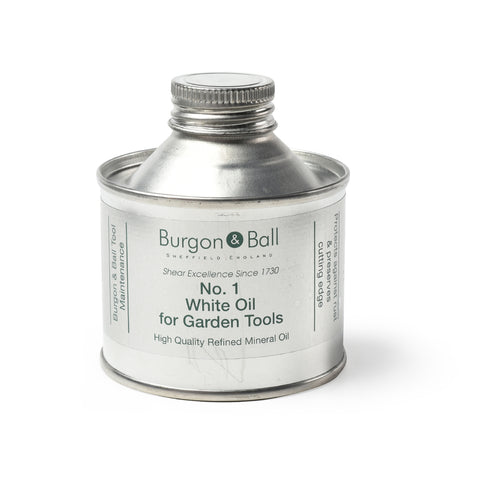
Finally, the application of oil will protect the tool. Simply rub an oily cloth over the surface of the blade (for cutting tools) or tool head (for stainless steel tools) to leave a thin film of oil. This will protect the metal by creating a barrier between the metal and the air and moisture that can combine to form rust. This corrosion is less of a worry for rust-resistant stainless steel tools, but protection is important for tools with high-carbon steel heads or blades, like most of our RHS-endorsed cutting tools or our Tough Tools collection. The higher carbon content in the steel of these tools makes them extremely strong, but the formulation makes them more vulnerable to rust. The oil also lubricates any moving parts, such as where the blades of a shear pass over each other as the tool is closed, giving a smoother action, less wear on the blades for longer life, and improved performance.
One timeless tip for keeping your tools clean, sharp and oiled year round is to keep a bucket of sand in your shed. Empty a good slug of boiled linseed oil or motor oil into the sand and mix it in. Then after each use, plunge the tool head into the sand several times to clean and sharpen it - and it get get a light coating of oil at the same time. You might even choose to store your tools standing in the sand over the winter.
These tool maintenance tasks are strangely satisfying, and will certainly help keep your green fingers occupied while you wait for the season to really take off. It’s a great feeling to step back and regard with pride all your refreshed garden tools; clean, sparkling in the sun and raring to get to work. And the time spent will certainly pay you back, both in terms of making gardening tasks easier, and in terms of the longevity of your gardening armoury, as well.
